How to Place Your Pet’s Ashes Inside a Custom Urn: Step-by-Step Guide
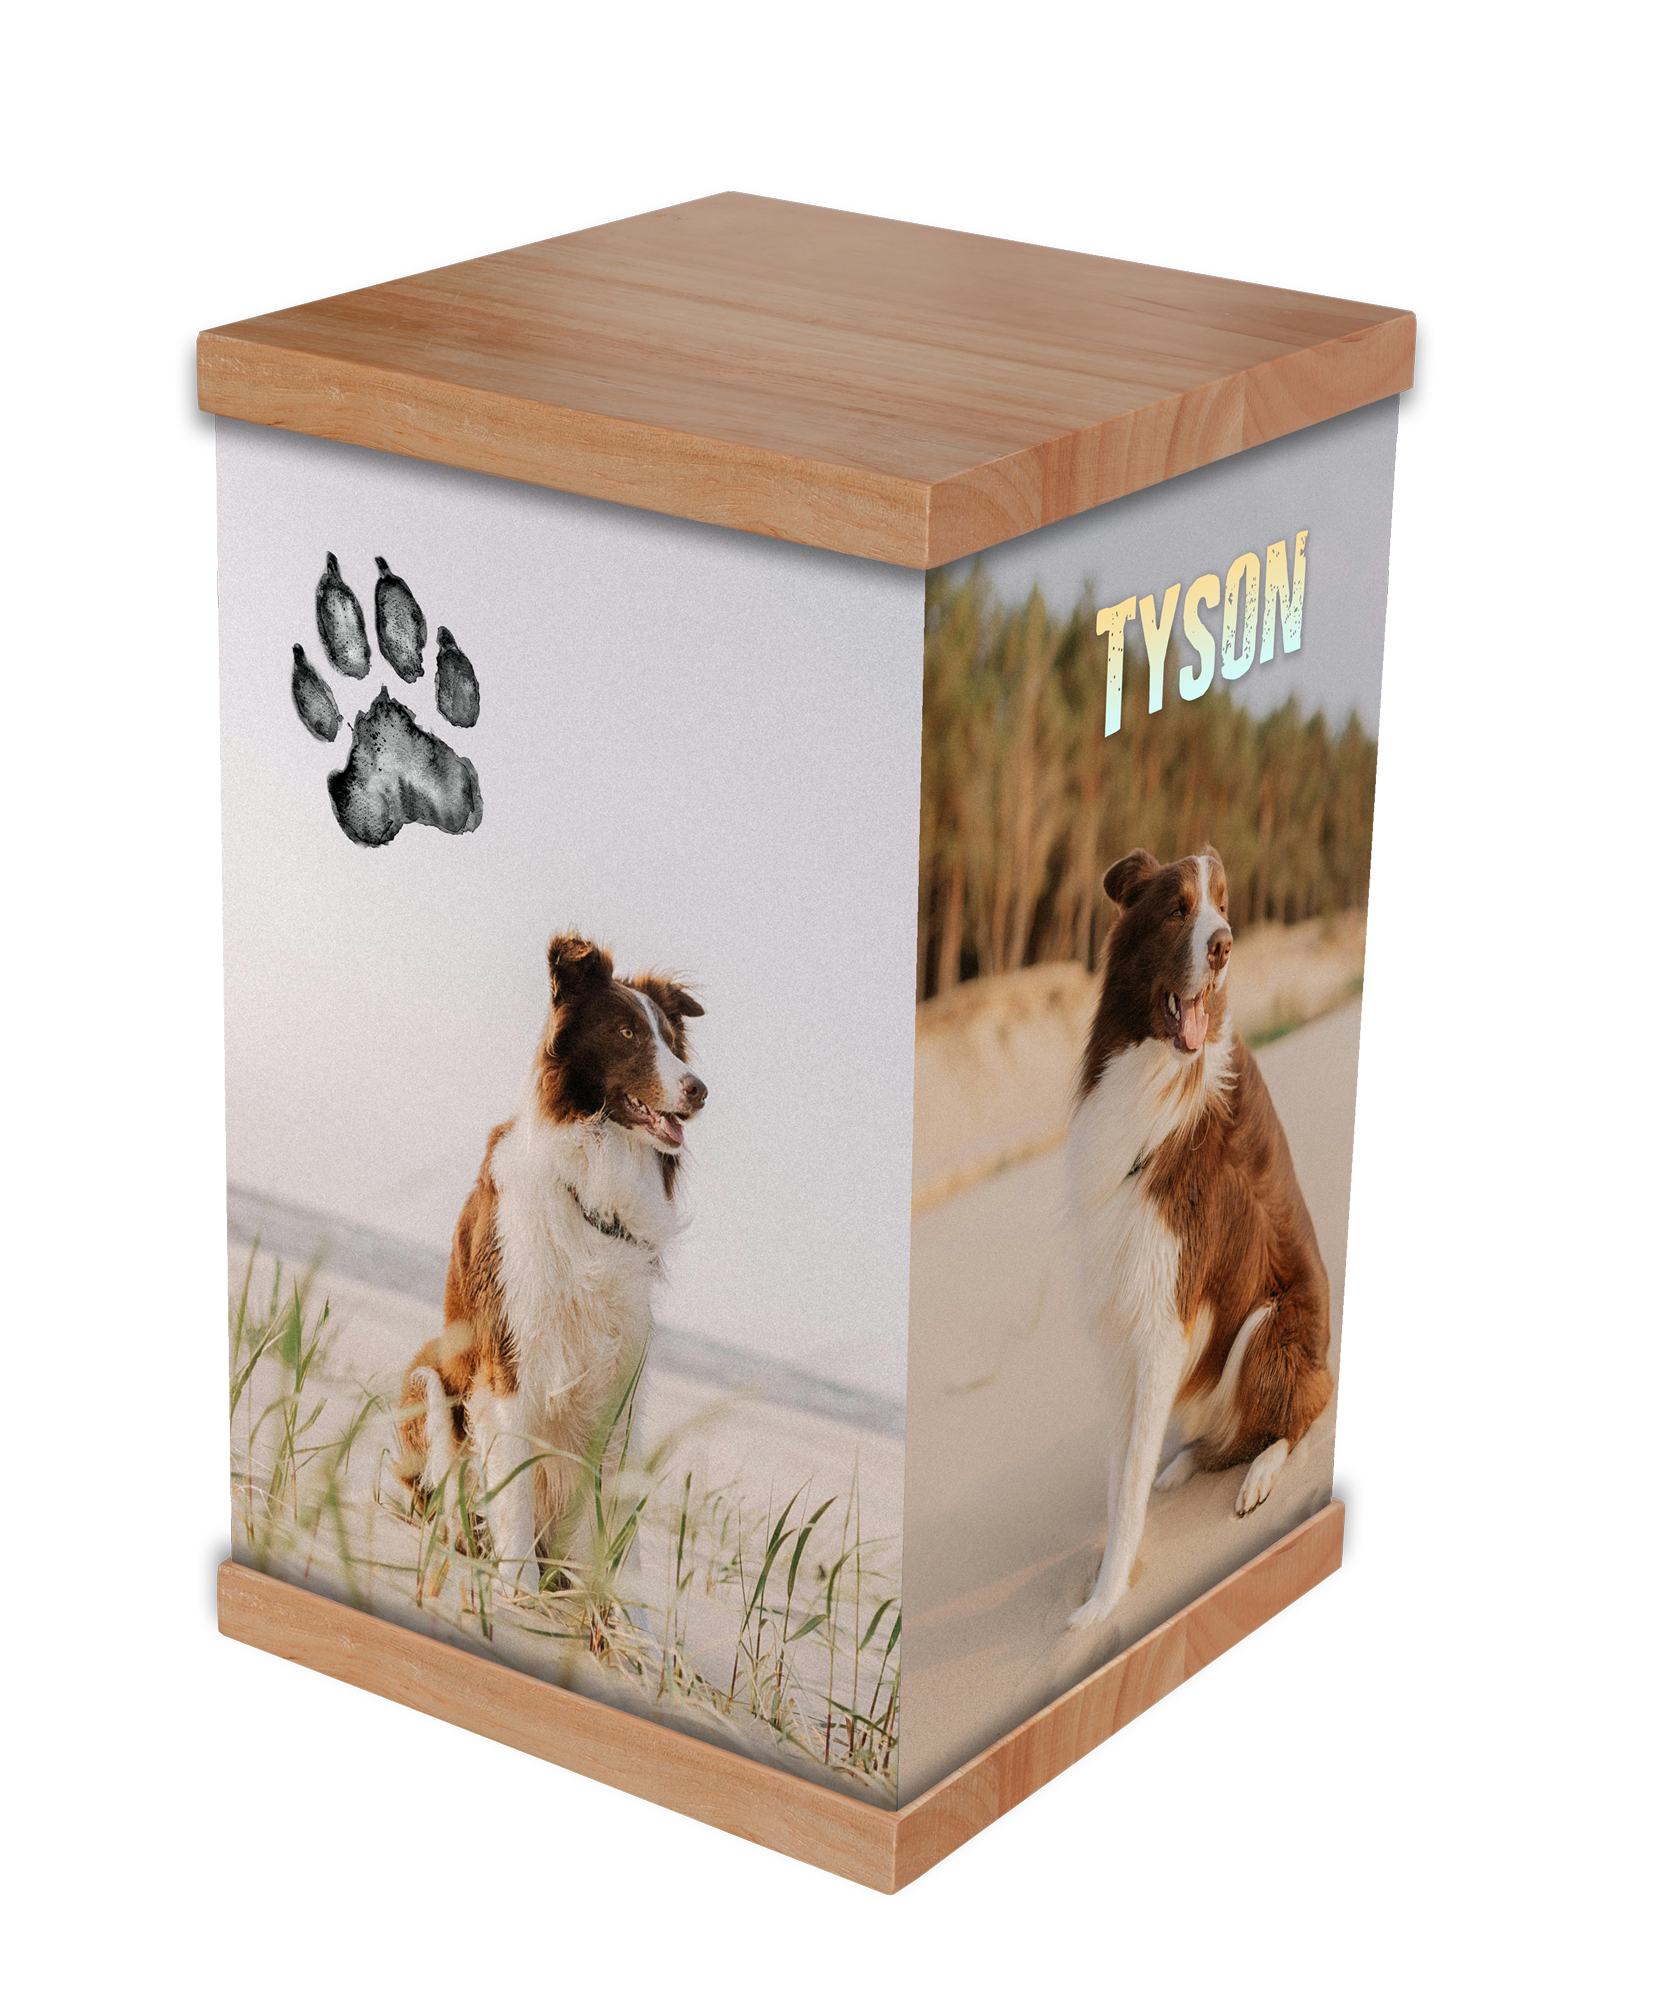
Transferring your beloved pet’s cremation ashes into their permanent resting place is a deeply meaningful moment. At Rapt In Rainbows, we craft our personalised pet memorial urns with secure, bottom-loading panels so you can transfer your pet’s remains safely, respectfully, and without stress.

Whether you are preparing a resting place for a dog, cat, or small companion, this gentle guide walks you through every step of the process.
Quick Overview: What Tools Will You Need?
You only need two basic household items to complete the transfer:
A Phillips-head screwdriver (standard cross-head screwdriver)
A soft bath towel or microfiber cloth (to protect your photo urn’s finish)
Step-by-Step Instructions: Placing Pet Ashes in Your Urn
-
Step 1: Set Up a Protected Workspace
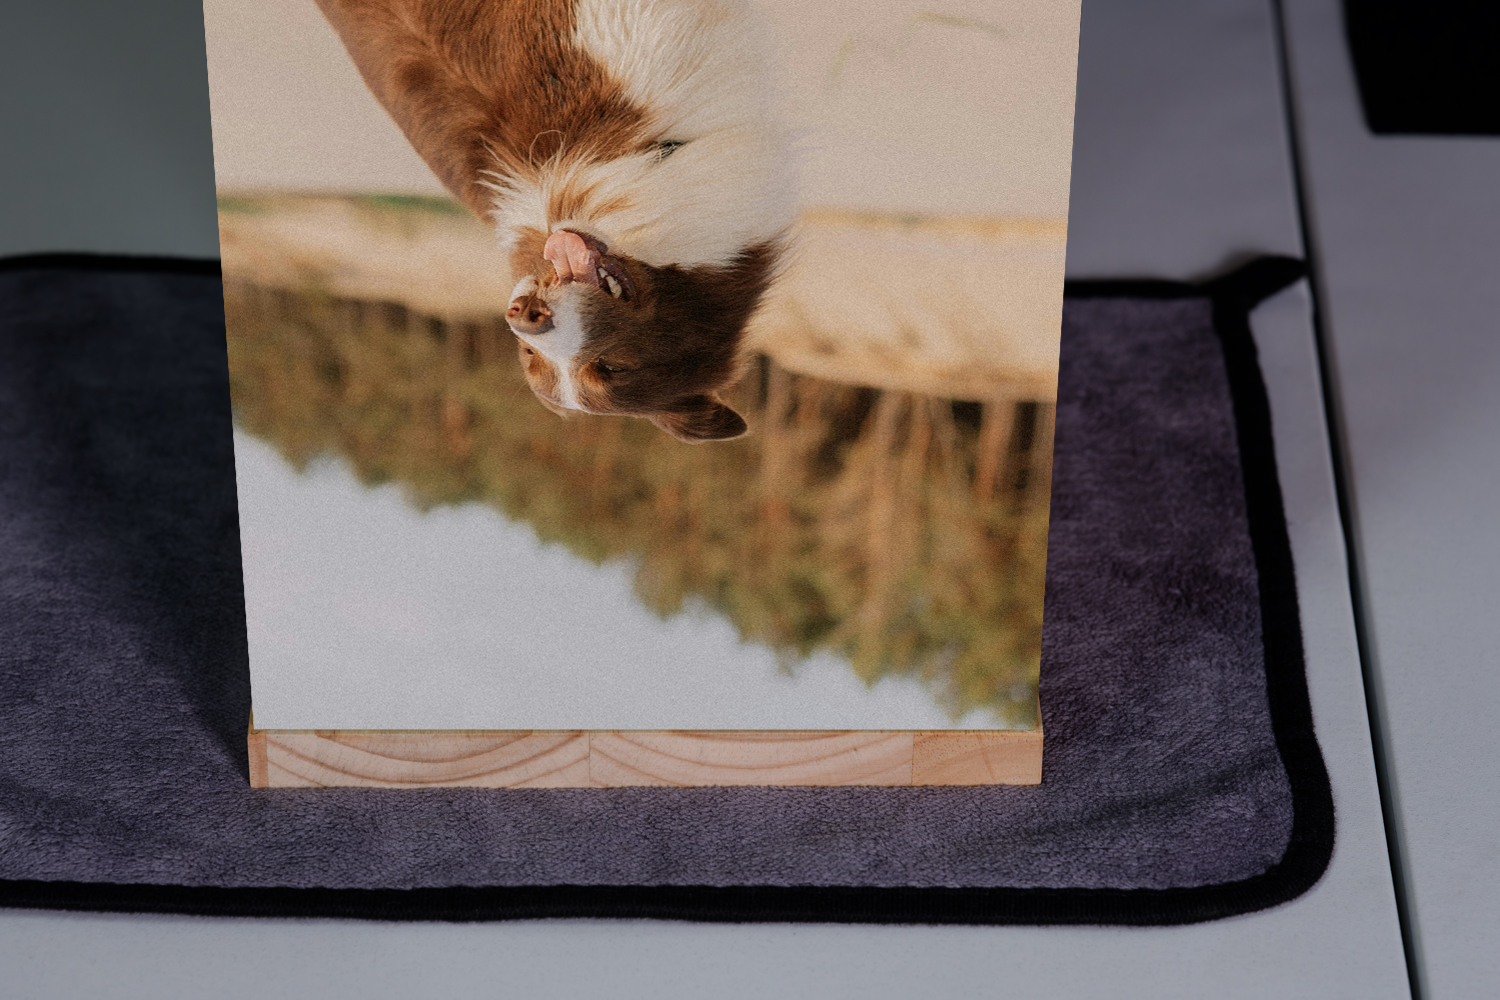
Begin by placing a soft cloth or padded towel on a stable surface, such as a table or workbench. This provides a cushioned, protective area to safeguard your pet urn’s photo finish while handling.
-
Step 2. Access the Base
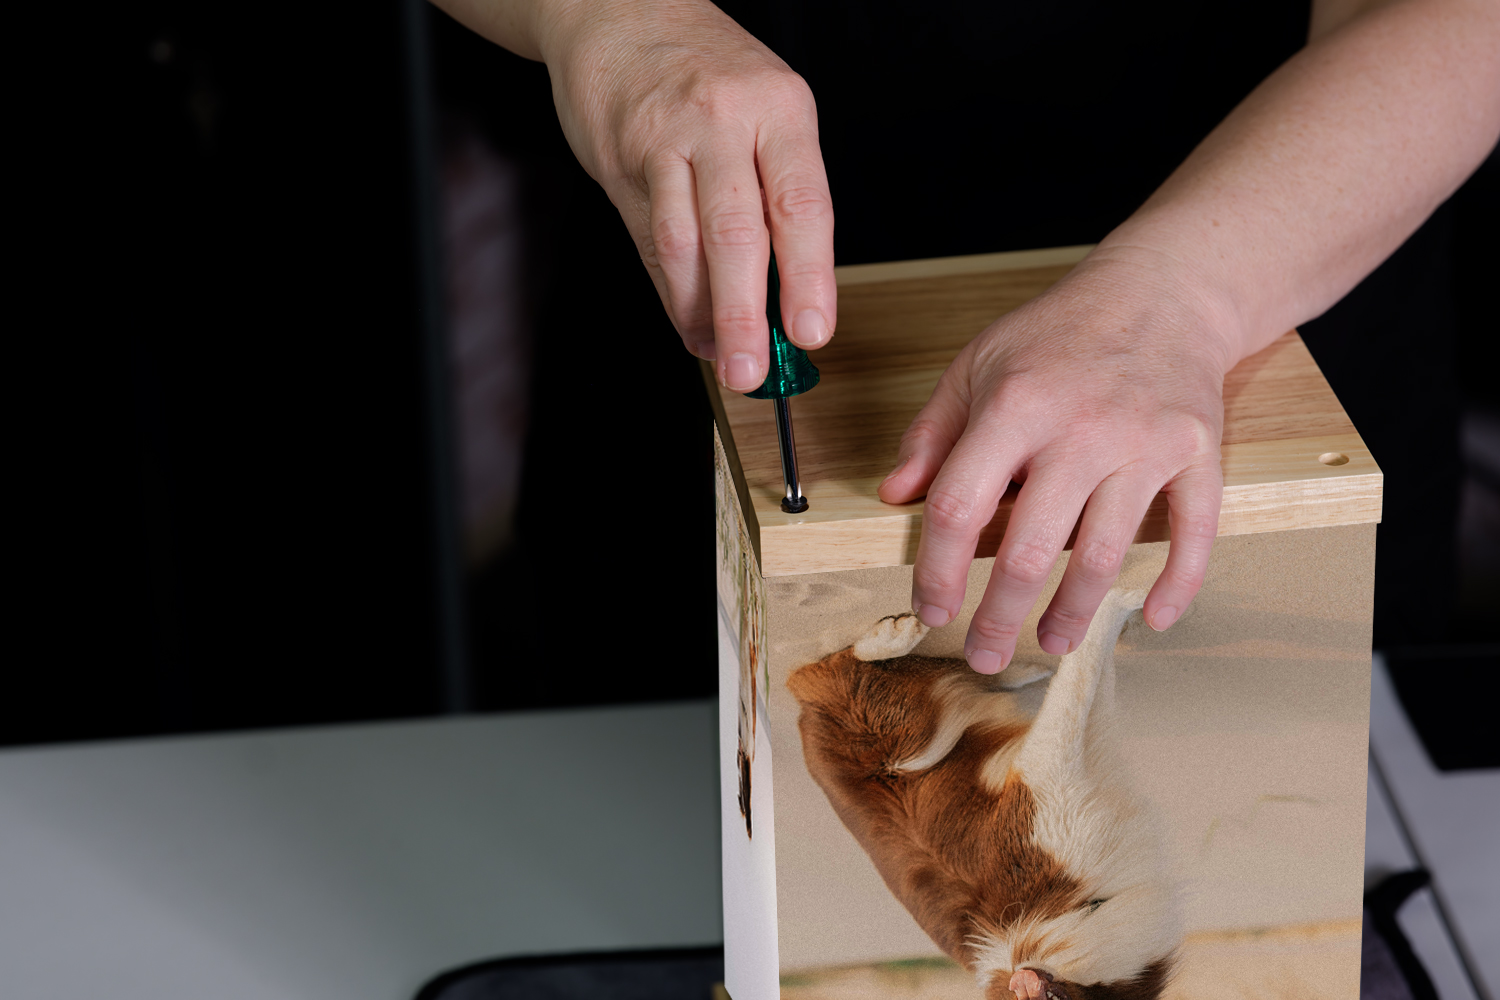
With care, turn the pet urn upside down to reach the base panel. You will notice four black screws securing the timber base in place.
-
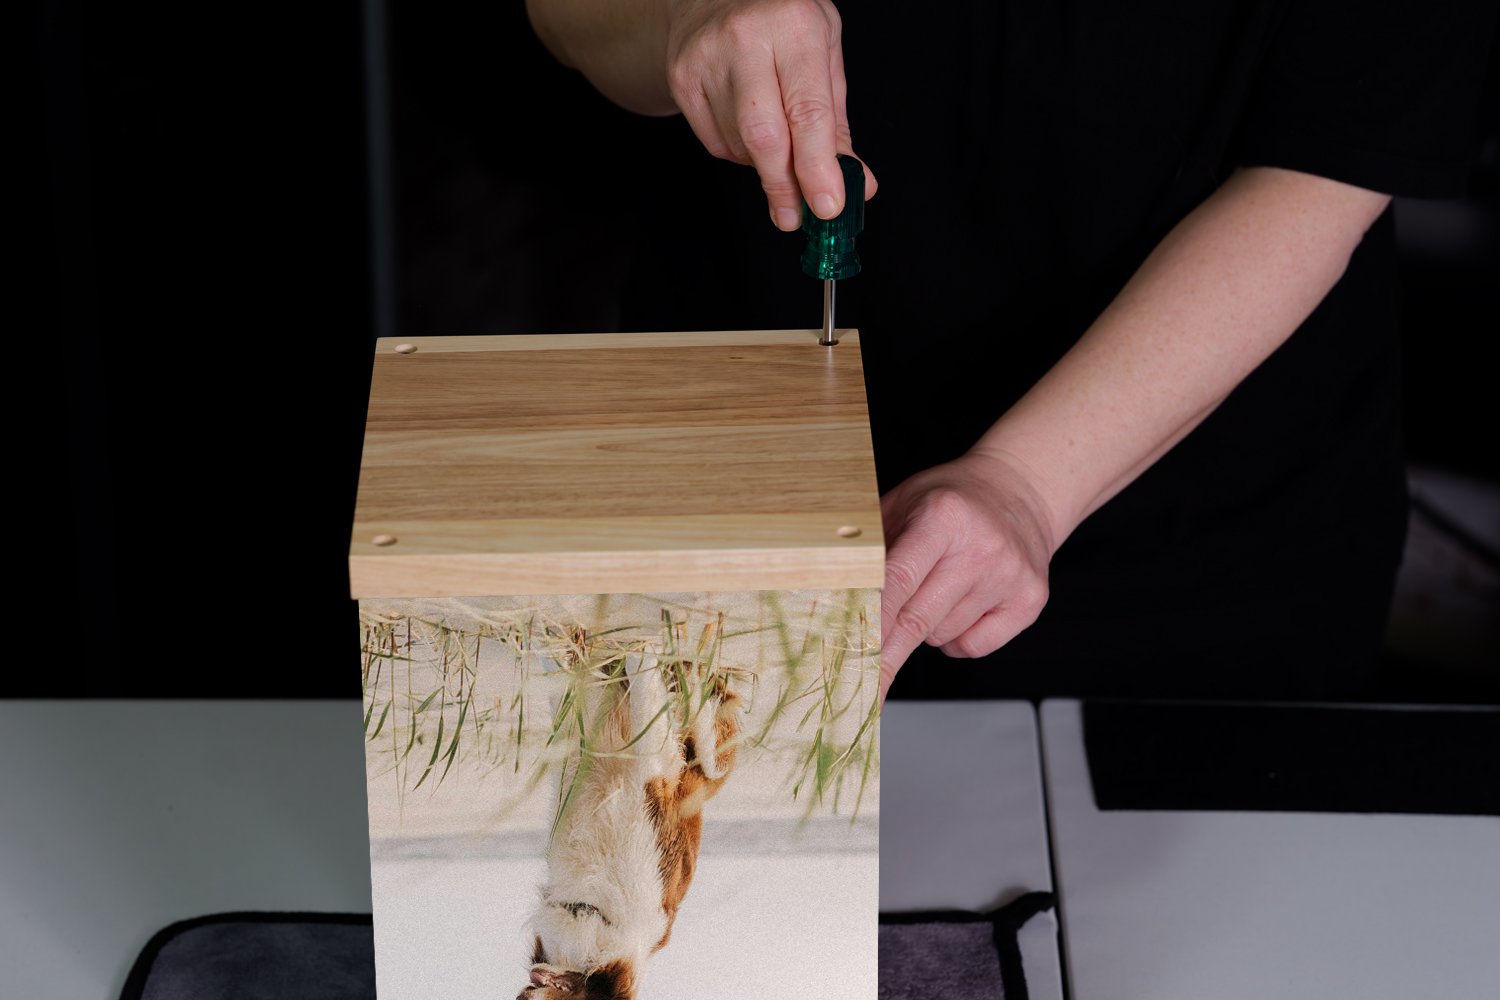
Step 3. Unscrew the Base
Using a Phillips-head screwdriver, carefully turn the four black screws counterclockwise to detach the base plate. Set the screws aside in a safe spot so they don't roll away.
-
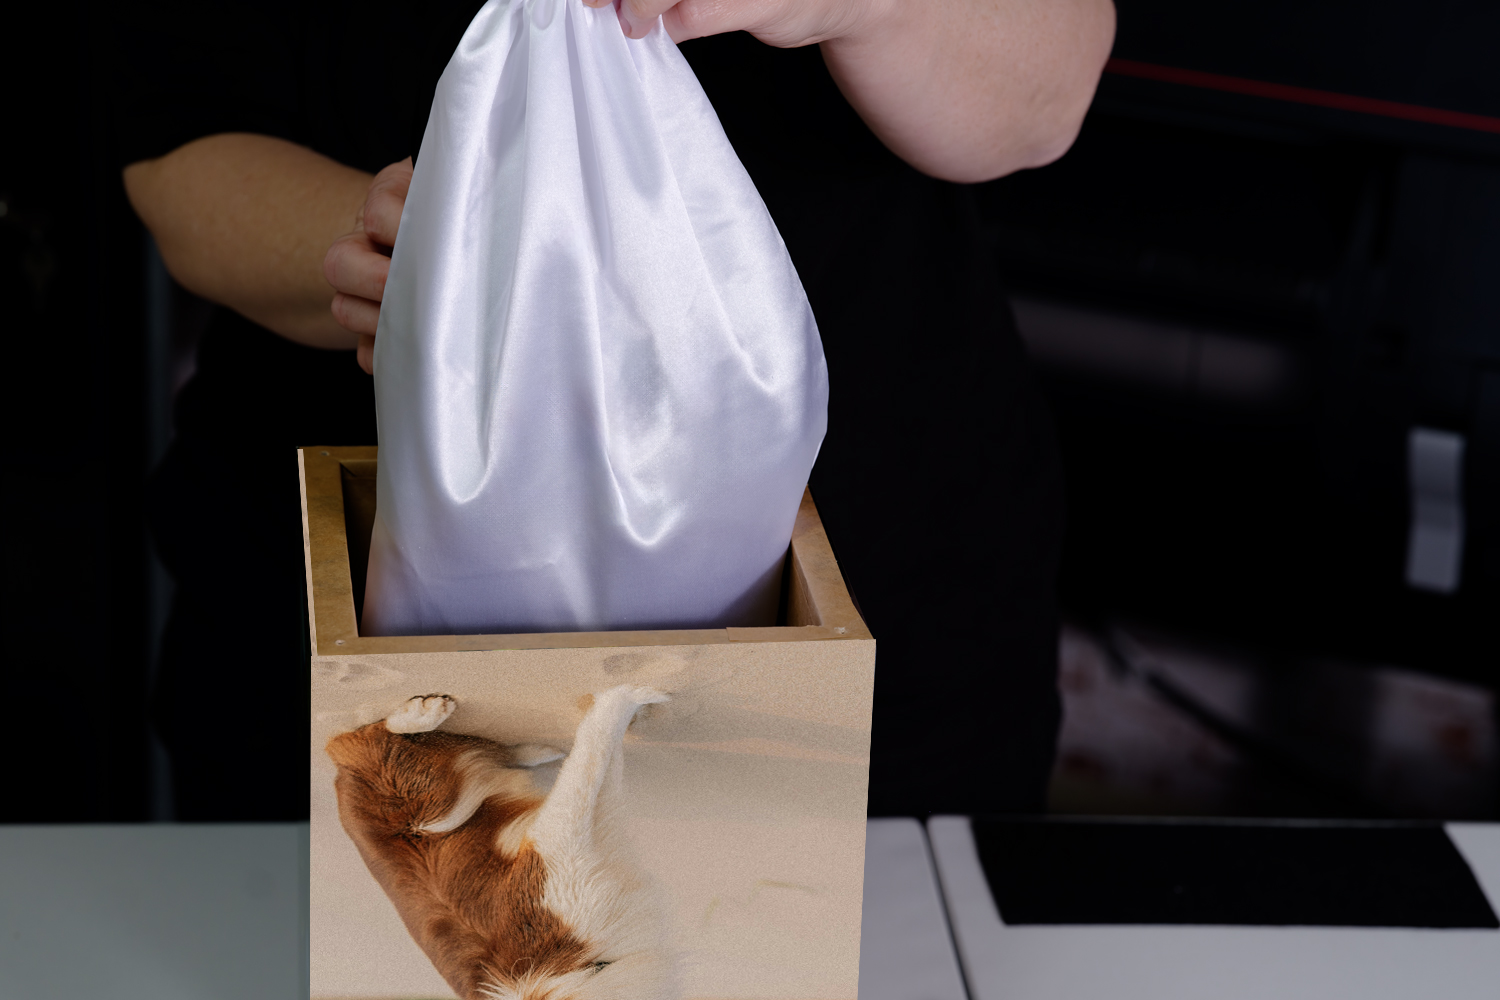
Step 4. Access the Interior
Inside the base of the urn, you will find a plush satin bag containing a thick plastic liner. This double-layered approach ensures the safe, leak-proof containment of your pet's ashes within the urn chamber.
-
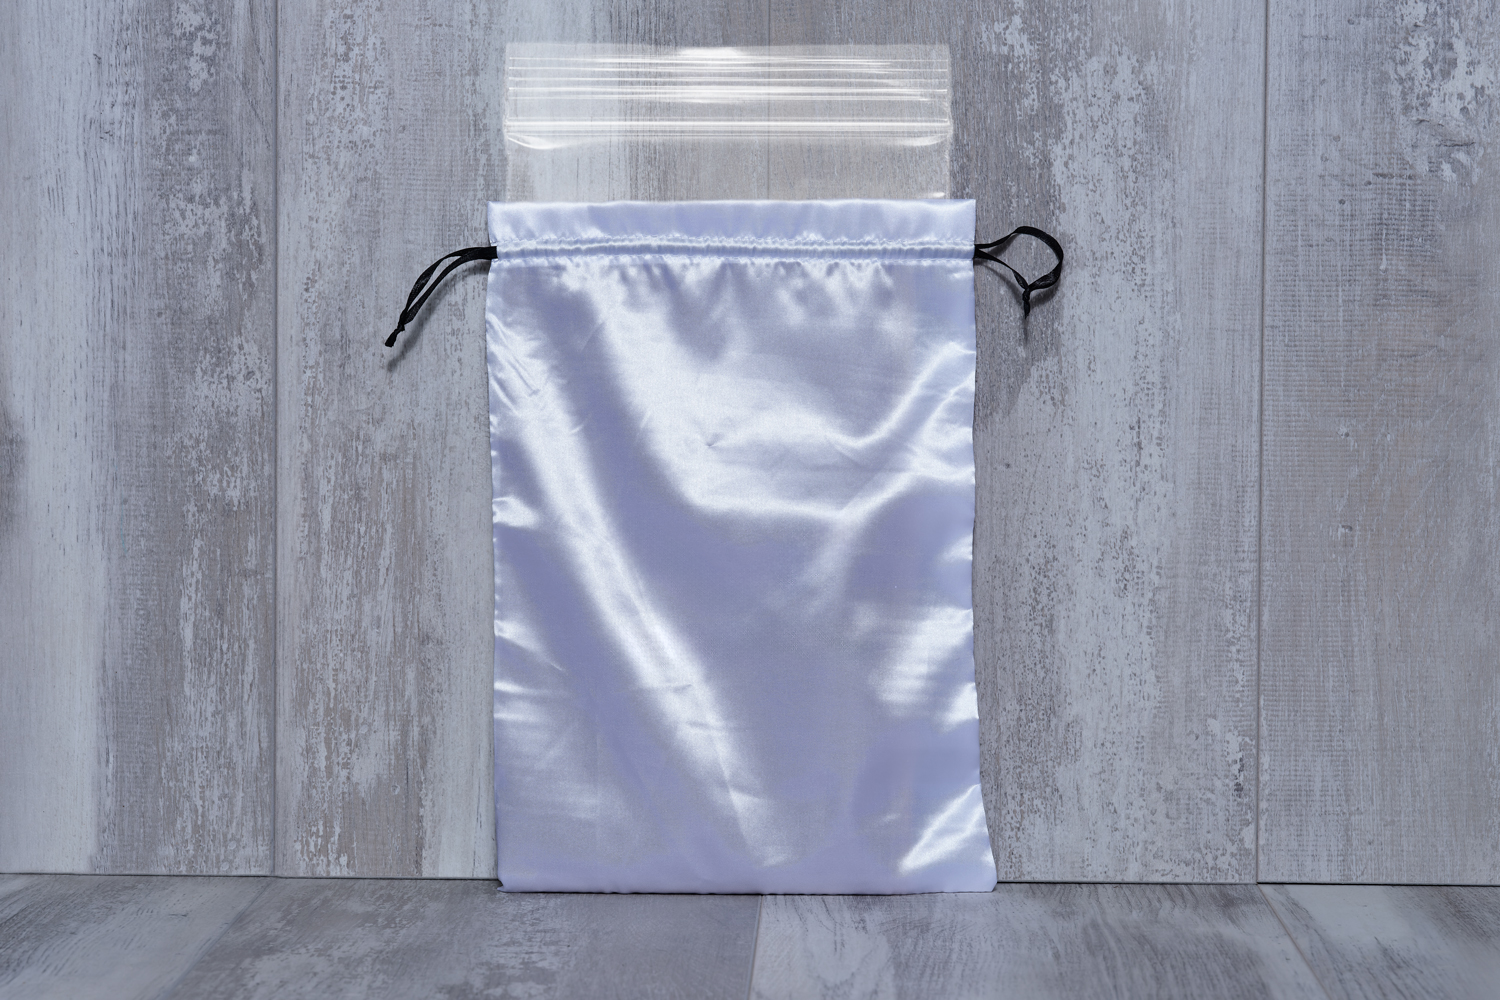
Step 5. Transfer the Pet Ashes
Gently place your pet's ashes inside the provided plastic bag and ensure it is tightly sealed. Then, carefully place the sealed plastic bag inside the satin presentation bag and pull the drawstrings snug.
-
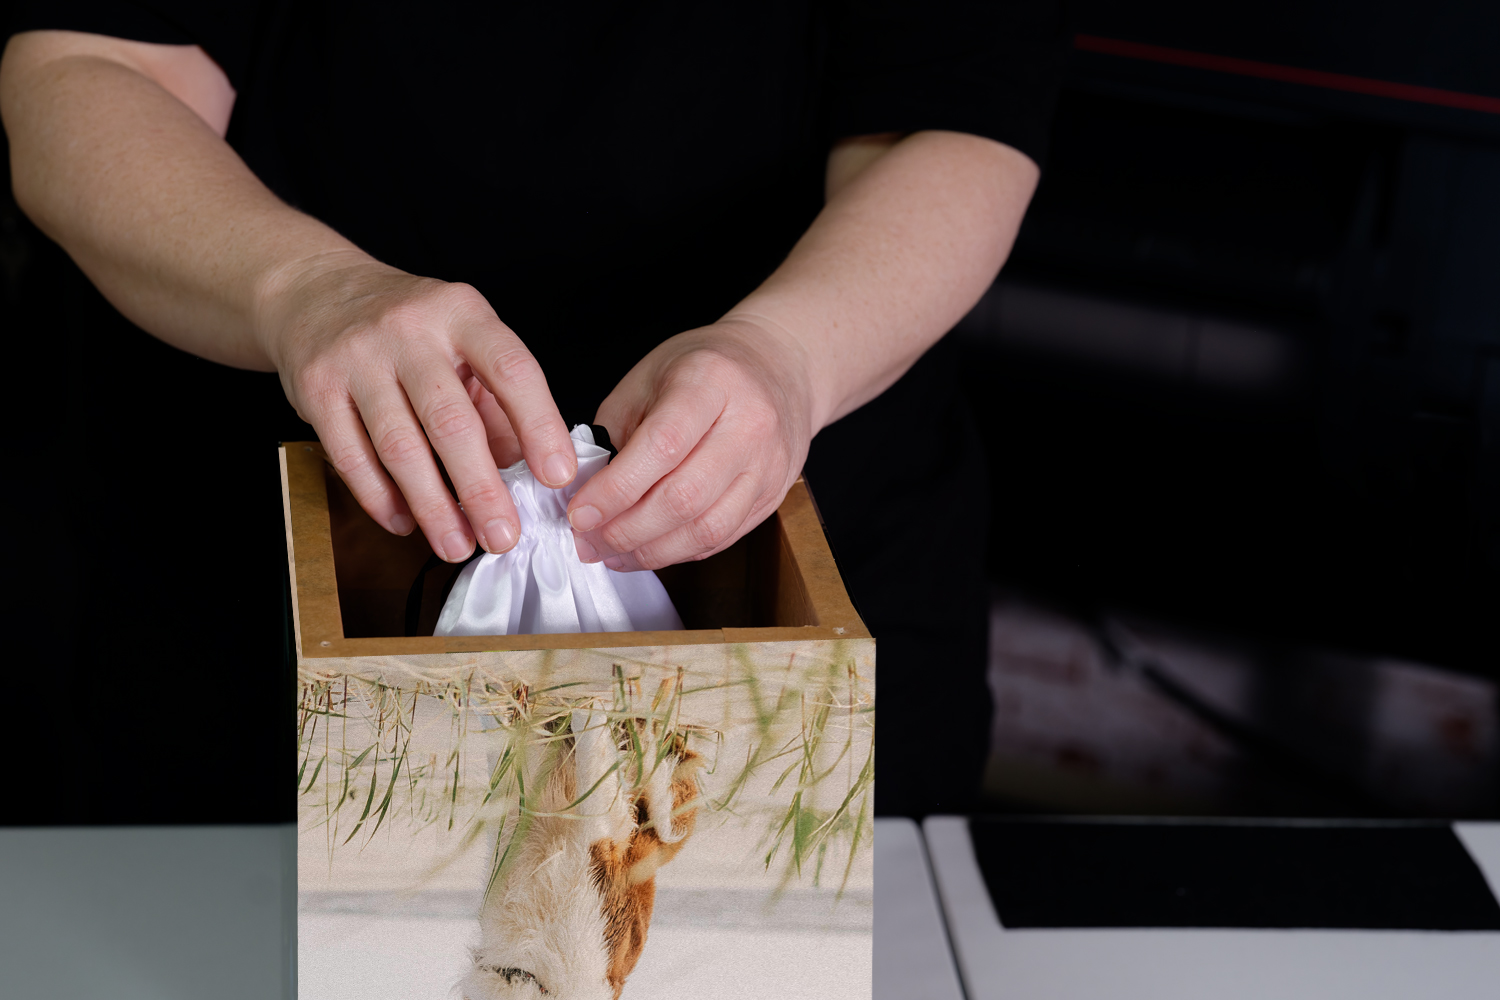
Step 6. Position the Satin Bag
With care, position the satin bag containing your pet's ashes inside the cremation urn chamber, ensuring it sits comfortably and flat.
-
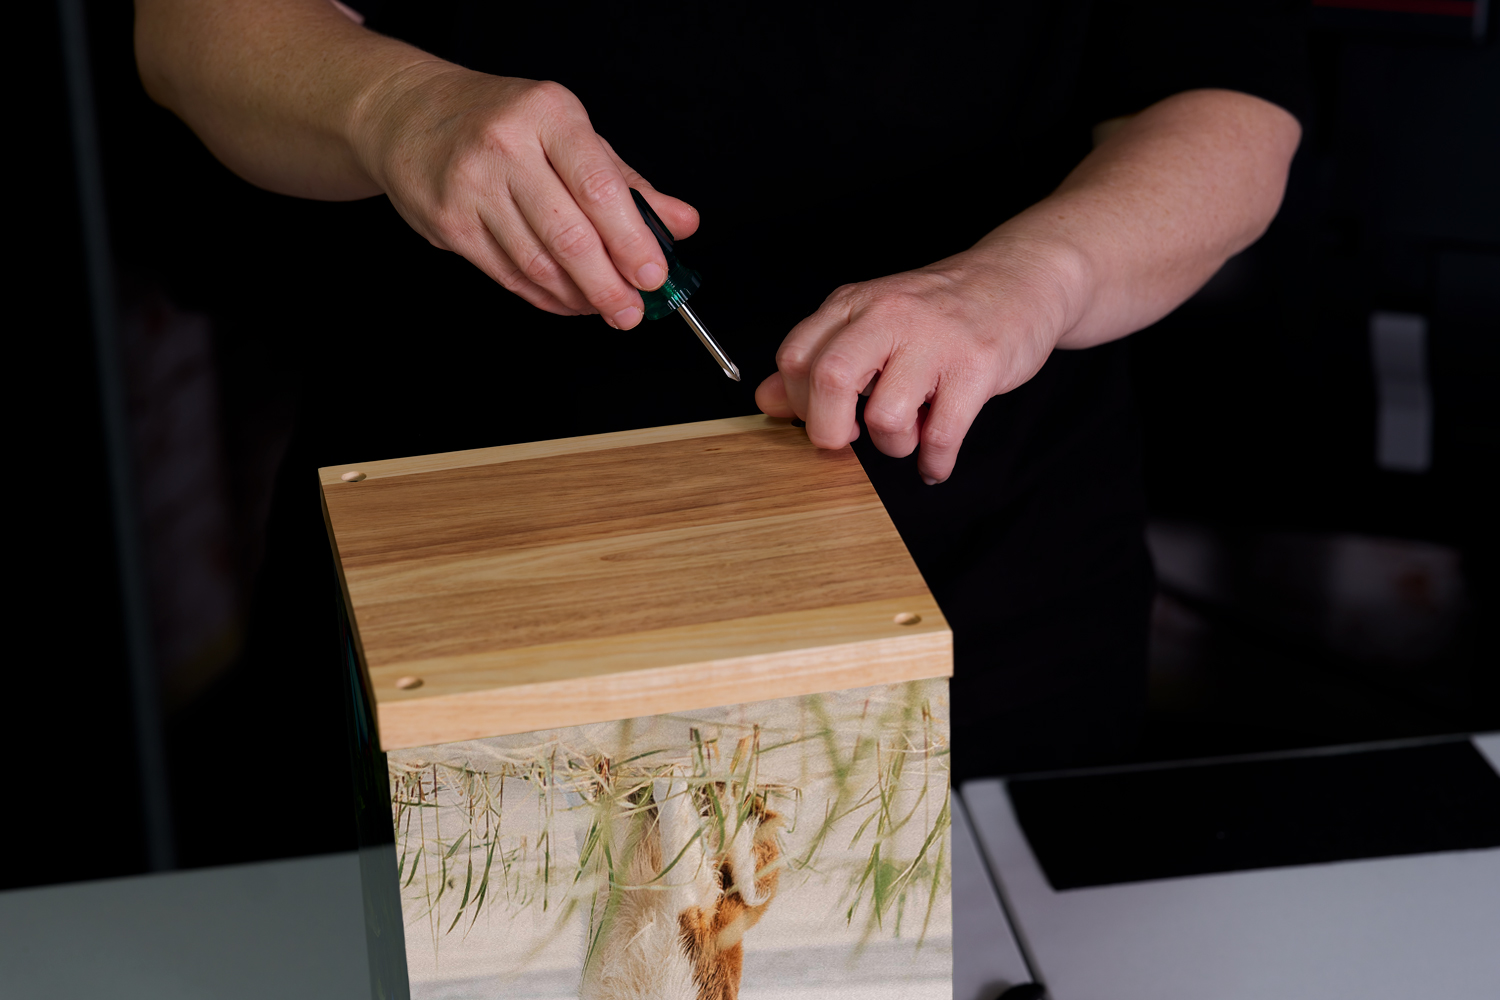
Step 7. Secure the Base
Once the satin bag is in position, reattach the timber base by carefully screwing it back onto the pet urn using the four black screws. Ensure each screw is firmly fastened to maintain the structural integrity of the urn without over-tightening.
-
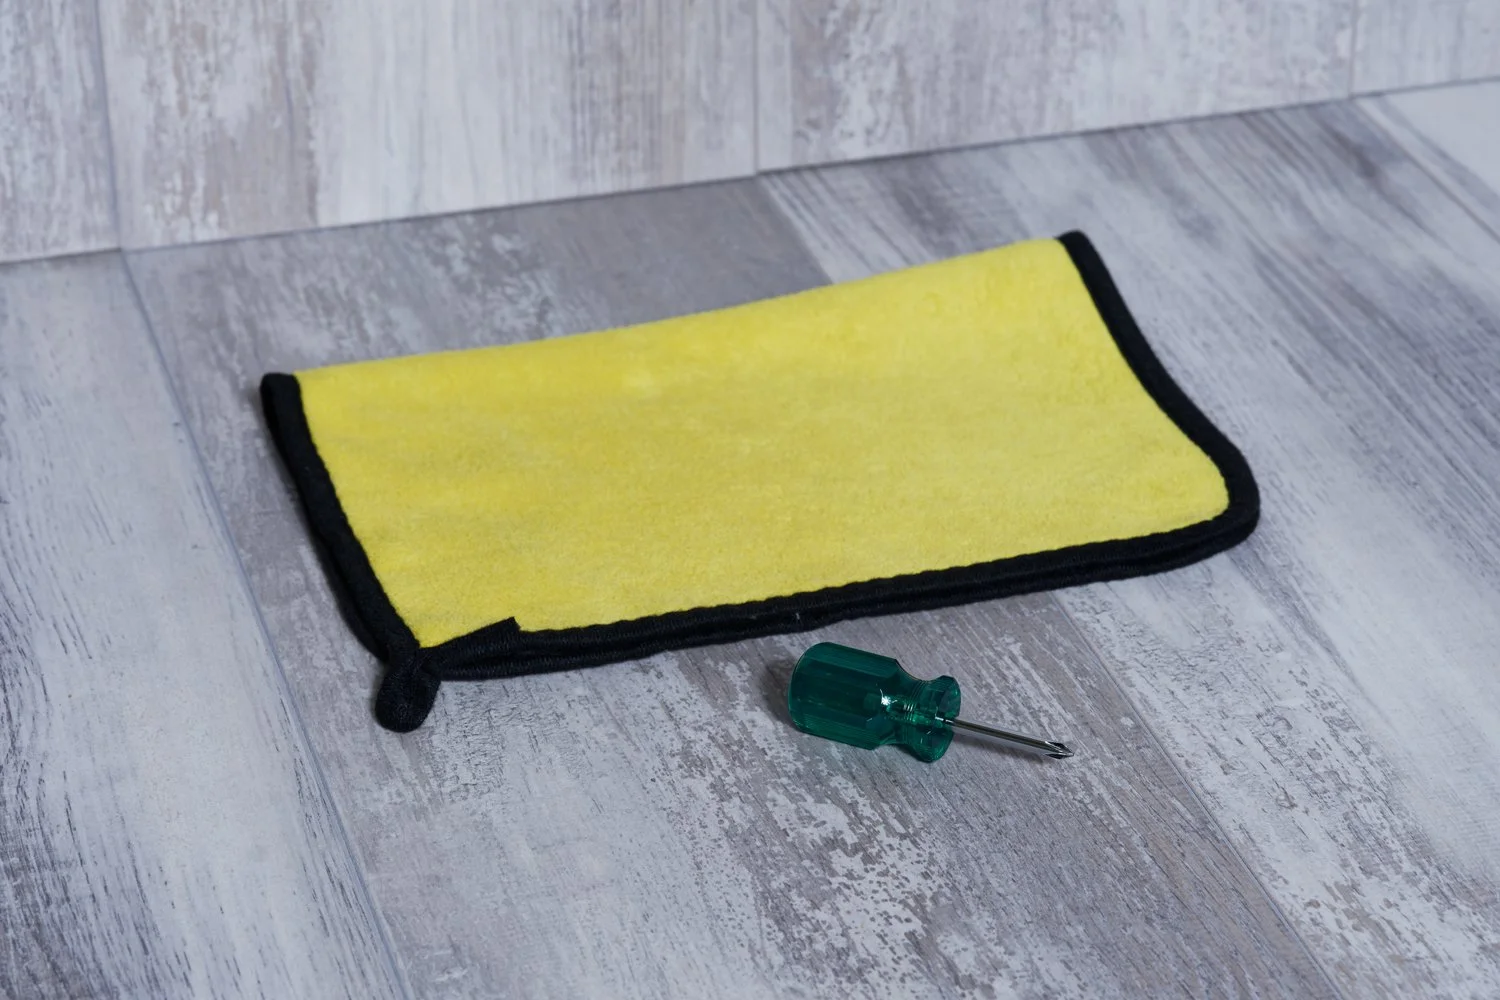
TOOLS YOU WILL NEED
There are only two tools you will need.
Phillips head screwdriver
Soft cloth
Frequently Asked Questions
-
No. Ashes should never be poured loose into the wooden chamber. Keeping the ashes sealed inside the crematorium bag or our provided heavy-duty liner ensures your pet’s remains stay safe, clean, and permanently protected.
-
Yes. Many pet parents place a favorite collar, lock of fur, ID tag, or a small toy inside the satin presentation bag alongside the sealed ashes. (Depending on the urn size you choose. PLEASE CHECK OUR URN SIZE COMPARISON PAGE)
-
A glue sealant is optional. The four-screw timber closure provides a tight, secure seal. However, if you want permanent closure, apply a thin bead of clear wood glue or silicone along the inner rim before fastening the screws.
Need Additional Assistance?
If you feel uncomfortable transferring your pet's ashes yourself, most local vet clinics and pet crematoriums will gladly place the ashes inside your Rapt In Rainbows urn for you. If you have any questions about urn sizing or how to place your pet’s ashes inside the urn, please reach out to our compassionate team today.